
There is a small digital camera in the head of a flexible arm.
The visualiser is plugged into a computer via a USB cable. There is no need for a power cable. The camera takes the required power from the laptop.
As you can see in this photograph the flexi cam image appears as a live image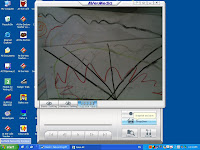 on the computer. It can then be shown to a class on an interactive whiteboard via a projector. You can freeze the image and write on it (on the IWB).
 on the computer. It can then be shown to a class on an interactive whiteboard via a projector. You can freeze the image and write on it (on the IWB).
 A photo can then be saved by pressing a button on the computer.
 A flexi cam can also show live video. This is rather like the cameras that you see when you enter certain shops. Again it can be used via a projector so that a whole class can follow a demonstration or activity.
Visualisers vary enormously in price. I have been using a Flexi Cam (by Ken-a-vision) for about 3 years in my previous school and found it to be a valuable and 'flexible' tool in the classroom. At Robert Hitcham's we have just purchased a visualiser / flexi cam for every classroom from Aver Vision. We have paid about £230 for each visualiser. They have a 3mega pixel camera and video capture. It is worth shopping around for a good price.
They can be used to show documents, children's written work, passages from a book, paintings / drawings, 3D work or objects brought into the classroom. It can really save on photocopying. 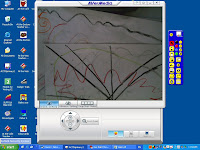 One of the best learning uses is when using the live video function. It is great for demonstrating a skill to the whole class. Children who can do something really enjoy showing others via the flexi cam. It is much better than asking the whole class to 'gather round'.
 One of the best learning uses is when using the live video function. It is great for demonstrating a skill to the whole class. Children who can do something really enjoy showing others via the flexi cam. It is much better than asking the whole class to 'gather round'.
 In order to make the most of a flexi cam then it is worth getting into the habit of setting it up every morning. There are unplenned moments when it will become useful in a lesson - so it is best to have it ready. Don't forget that it is basically a camera so it canbe used to record the children's work in a whole range of subjects. You can also zoom in for a close look at work or objects. Some visualisers can be connected to a microscope.
It is a fantastic aid to learning and I would recommend one to teachers of all age groups or subjects.
 You can use a picture to fill a piece of 'Word Art'. Use the fill with colour tool (dawing toolbar)- go to fill effects - picture - choose picture from your files.
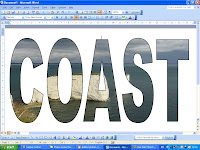 You can put text over a picture by using a 'text box' - see the 'Drawing' toolbar. The pictur will need to be 'Behind' - see wrapping or order.
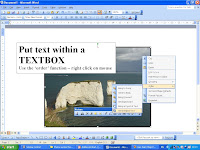 You can also use shapes. Put text in shapes
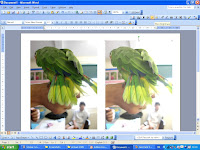 Click on each image for a full size version.
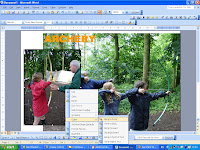
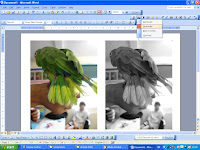 There is quite a lot you can do with a image without having to use a photo editing program.
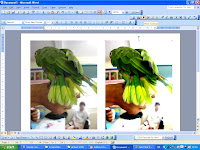 You can adjust the colours on a photo with the picture toolbar with MSOffice. It is worth getting to know the picture toolbar - right click on a photo to bring up the toolbar.
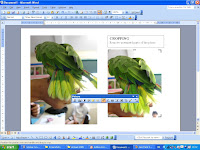 Each of these examples has been 'edited' with MSWord but you could equally use these functions in powerpoint, excel or publisher.
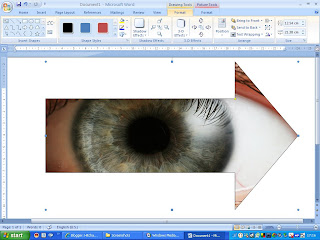
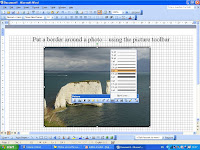 You can also add a border, crop or resize a photograph.
 In order to put a photo within some text you need to use something called 'wrapping' - the little dog on the picture toolbar.
 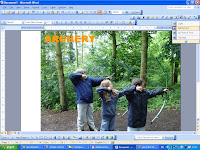 A picture will normally need to be 'tight' or 'behind text'. This will enable you to move it around your document and will bring up toggles in each corner of th
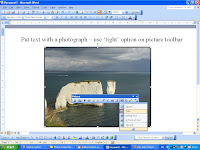 See next blog for more ideas.


